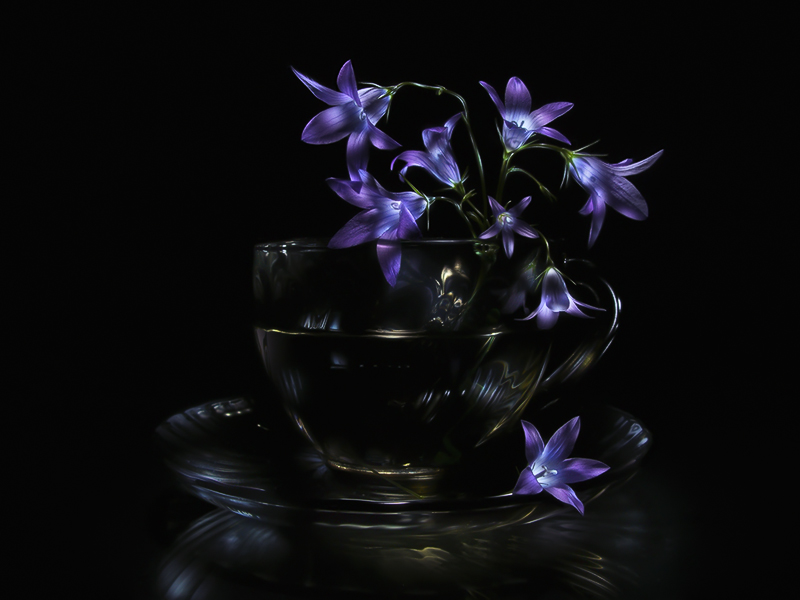
This is simple technique, but very time consuming. At first, i place black (or dark) background behing the scene, put a camera on tripod and set to manual mode with settings: iso at minimum (80), aperture to max number (8 in my case) for wider DOF and set exposure time to 5-10 seconds (i turn off light, make a test shot with flashlight and adjust exposure time, if it too low or too high). When i done with camera settings, i start continuous serie of shots, turn off the light and start to lit the scene with LED flashlight from different angles and distances, changing the lighting when i hear shutter sound from camera (Canon Powershot A650 with CHDK firmware writes RAW shot in 5-6 seconds, so i have enough time to move flashlight where i want). At first, i don't move flashlight during exposure time, taking static lighted scene, and when i got enough shots, i move flashlight while shooting, trying to get some nice light effects. When i got enough shots, i stop the camera, upload shots in computer and look at serie of shots, which looks like that:

Then, i sort all of them. At first, i divide all shots to 2 groups: dark and bright. Inside each group i sort shots by type of lighting: front, side, back, top.
This sorting helps at processing stage, and i can easily exclude some shots from processing (these what looks similar). After sorting, i select one of dark shots as "base". Usually it is shot with good lighting at center of scene and with dark corners and background. I load all shots in Photoshop as layers, and move base layer at bottom of stack. I set black masks to all layers, except base, so they become invisible.
And now i start most time consuming and most interesting processing stage.
For example, at one shot i like blue reflection at hat of big mushroom, but nothing more, so i add only area with this reflection. On another shot, i like good shadows of foreground mushrooms at wooden table, or lighting of maple leafs at background, or something else.
So i go through all layers to top one, adding good features from some of them. After that, picture looks nice, and i do standard postprocessing steps: sharpening, noise removing, HiRaLoAm layer for better local contrast with highpass filter and finally, color correction and global contrast with curves.
Prints of my light paintings available at Artist website (and its mirrors at Pixels.com and FineArtAmerica.com), powered by FineArtAmerica / Pixels.
If you are interested in commercial use of my photos, please mail me at chaoticmind75@gmail.com. Also, commercial licenses available at Shutterstock.com.
If you would like, you can subscribe to my blog by Email. I constantly work with snowflake, HDR and light painting photos, and you'll see new pictures and wallpapers instantly after publication:
Emails delivered by Google Feedburner service, and you can unsubscribe any time.


